
This article contains an affiliate link.
It’s my goal to be bad at many things. You won’t find this slogan on motivational posters. But I advise everyone to strive to be bad.
Bushcraft encompasses a myriad of different skills. There’s room on bushcraft’s broad blanket for tracking, campcraft, basketry, edible plants, and many other skills. And part of the fun is trying them all!
But unlike Ray Mears, I am bad at most things I try. My “Drawer of Bushcraft Mistakes No One Will Ever See” has become an entire closet! But it doesn’t stop me from trying new skills. Maybe, against all odds, I will discover that I’m actually good at something.
In this spirit, I set out to forge my first knife. The Talmud states, “Find yourself a teacher.” And I found a great one. San Francisco State University offers a bladesmithing class at their Sierra Nevada Field Campus. And the teacher, Sam Farnworth, is the real deal!
I first met Sam as I walked from my tent to the cafeteria. He was lying on an animal skin carving a spoon. Sam has a pleasant outlook and is patient with his students. He explains clearly, and re-explains if students have trouble understanding. More than 30 years younger than me, I am taken with Sam’s energy and enthusiasm.
Dare Mighty Things.
– Teddy Roosevelt
How to Make A Knife
The process is simple in concept: Forge the knife, refine it with a file, heat treat the metal, sharpen the blade, and fashion a handle. During the class I make a carving knife, that I name “Little Chip,” and a spoon gouge that I christen, “Gougezilla!”
Forging the Knife
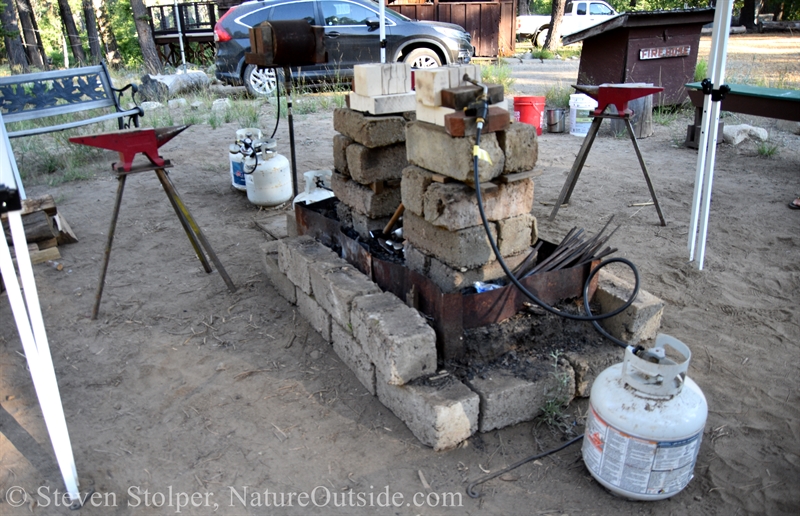
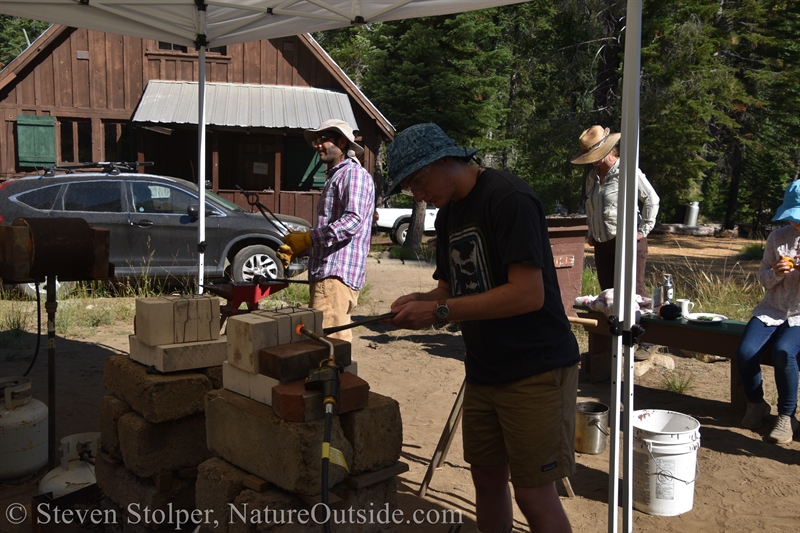
The forges and anvils are set up under a tarp to protect us from the sun.
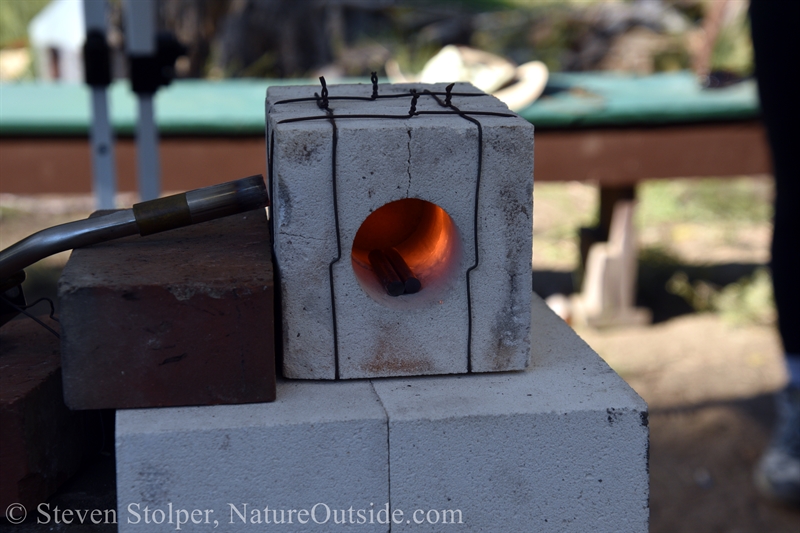
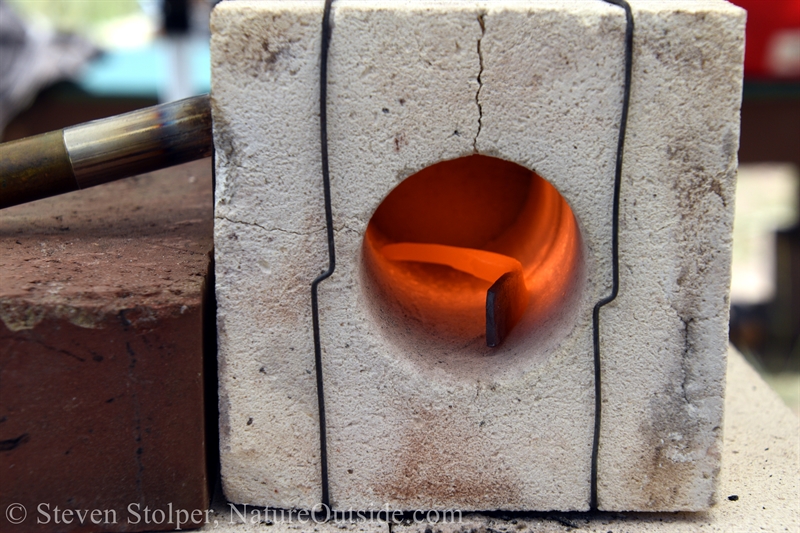
Each forge is a propane blowtorch that heats a chamber made from fire bricks. A drawback of these makeshift furnaces is that they don’t work efficiently at high altitude. Our class takes place at an elevation of 6,000 feet in the Sierras. So each student has a long wait for his piece to heat to the 1,800-degree Fahrenheit working temperature.
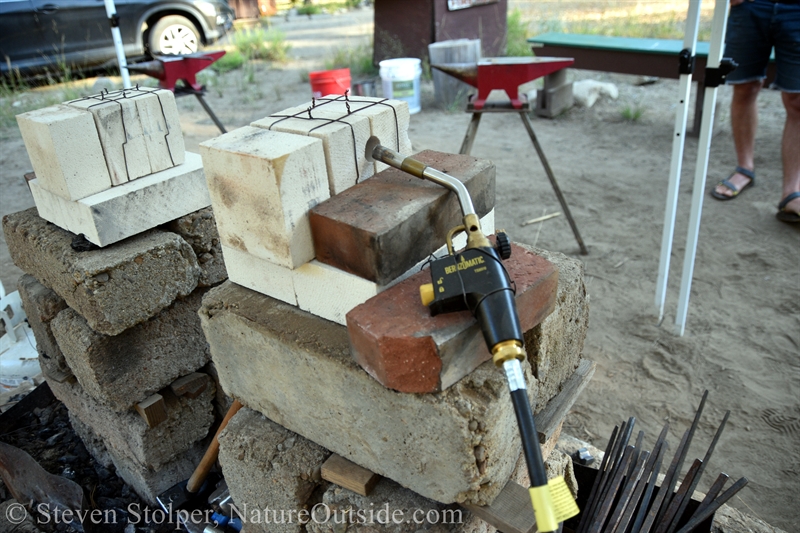
The forge is a propane blowtorch that heats a chamber made from fire bricks.
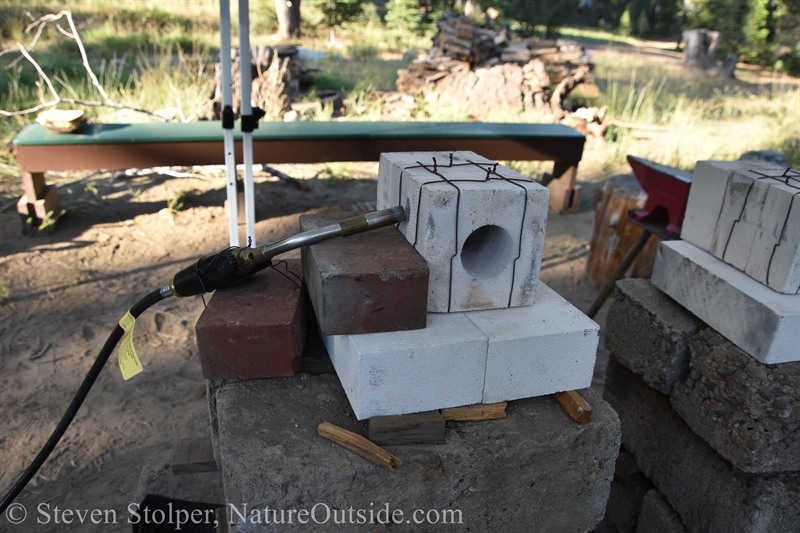
We insert and remove our pieces through the circular opening.
We’re making our knives from W1 Tool Steel. It’s a high carbon, water hardened steel with a high tensile strength and hardness. Surprisingly, the cylindrical blanks we use are only three inches long. But that’s fine because the material will expand as we hammer it.
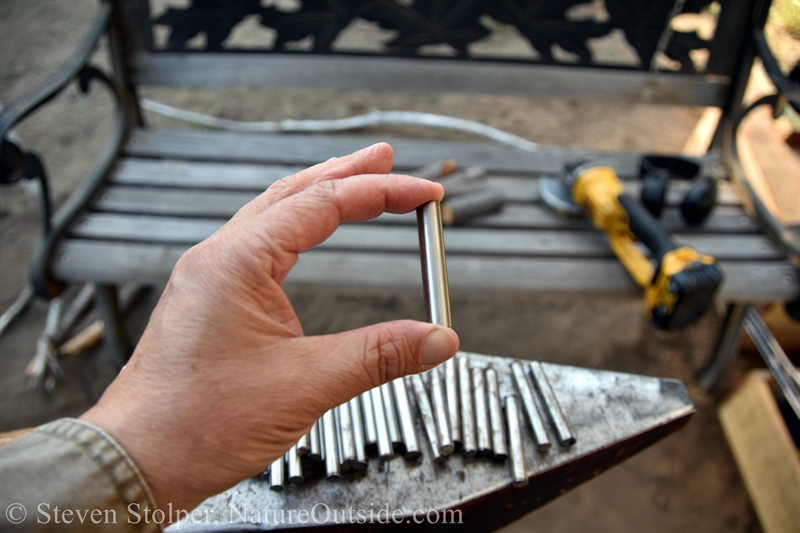
Our blanks for making knives and spoon gouges.
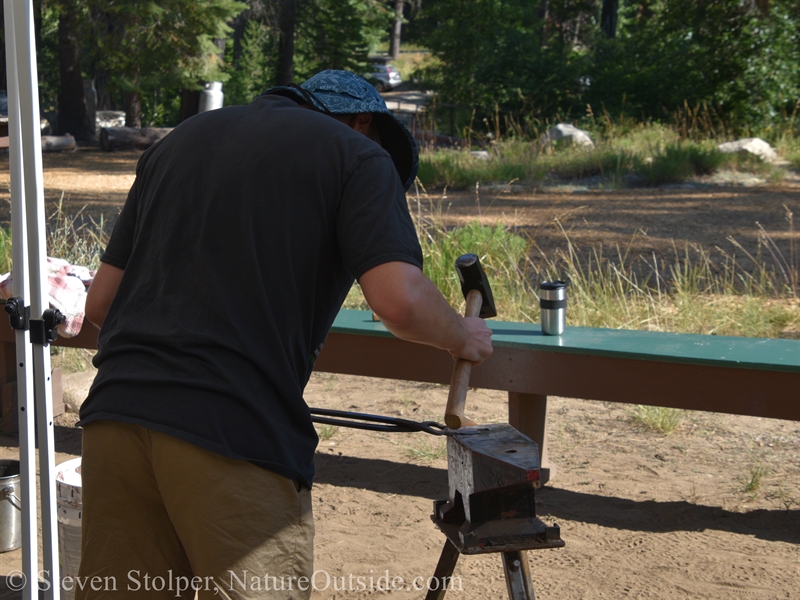
We heat our pieces in the forge until they glow. Then we work the glowing metal by holding it with tongs and hammering it against an anvil. One fun fact I learned about the anvil is that its edge has a different radius along its length. I can curve the metal to different radii by hammering it against different parts of the anvil’s edge.
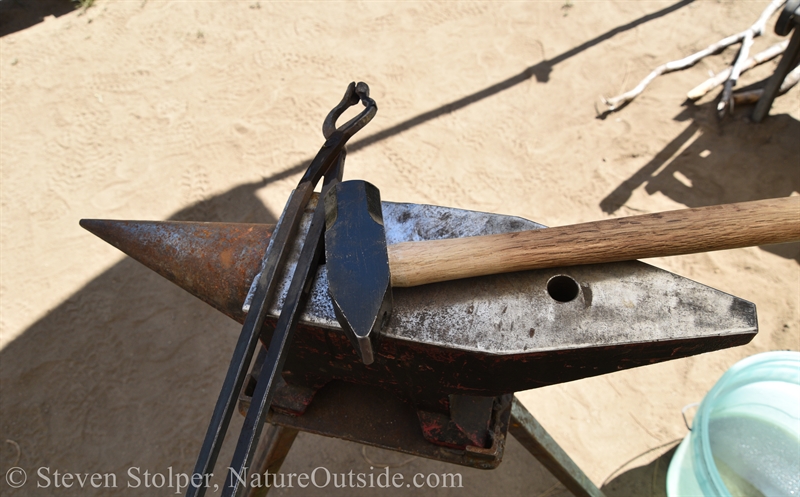
Our tools – Anvil, tongs, and cross pein hammer
Two students share a forge and an anvil. While one student works his piece on the anvil, the other’s reheats in the forge. When the temperature of our piece cools too low to work, we replace it in the oven and switch positions with our partner. If we work metal that is too cool, we will introduce fractures that can cause it to crack during heat treatment.
Heating our blanks
A student removes his piece after it reaches working temperature.
The forges reach a temperature of 2,000 degrees Fahrenheit. When we remove our piece it is glowing at 1,800 degrees Fahrenheit.
A student flattening the blade of his knife.
My spoon gouge heating in the forge. I am heating the tang to shape and refine it.
It’s no coincidence that stereotypical blacksmiths tend to be big burly men. It takes a surprising amount of force to hammer the glowing metal into shape. And while I can strike hard enough, I find it difficult to do so while maintaining the position of the tongs in my other hand. And when I try to be accurate with my blows, I don’t generate enough force to deform the metal they way I want. As a result I go through a several frustrating cycles of taking the piece out of the furnace, making a little progress, and then returning it to the forge to reheat. Sam, our teacher, can pound the piece into the correct shape in one go.
A Break from the Heat
When I work with the forge, I wear denim jeans and a long-sleeve cotton canvas shirt. This is because striking the metal with our hammers can generate “scale.” These are small pieces of metal that break off the piece when we strike it and oxidize in fiery sparks. If they land on bare skin, they can cause minor burns. So while we forge our pieces most of us keep our skin covered and wear eye protection.
Forging our knives is hot work. And as we labor, the summer air temperature reaches 93 degrees Fahrenheit in the shade. There is also a wildfire burning nearby. This combination of high heat and the smoky air compels us to take a well-earned break at the nearby Yuba River.
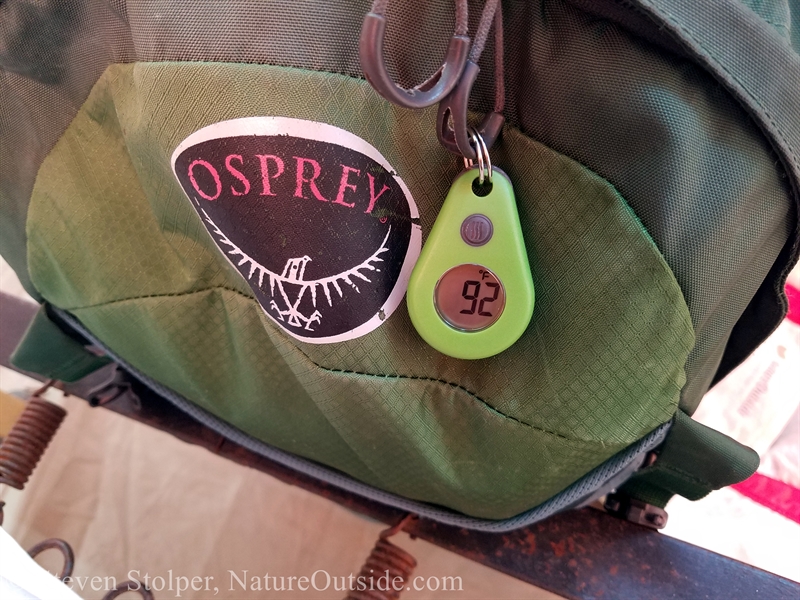
Bladesmithing is hot work when the air temperature is in the nineties.
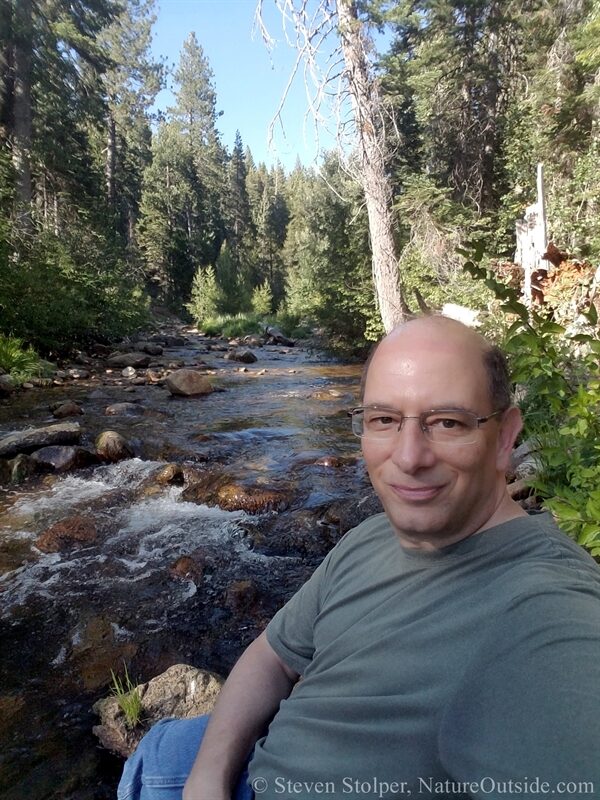
Soaking in the Yuba River.
Filing the Blades
After we shape the blades on the anvil, we anneal them. Annealing involves heating the steel to a high temperature and then cooling it slowly. Annealing removes the stresses we introduced while striking the metal with our hammers. It also makes it “softer” so that we can file it more easily.
Our teacher, Sam, uses a chainsaw to make a v-shaped cut into a log. This allows us to clamp our blade to the stump and have both hands free to file.

Our filing tools. Notice how the log is carved so that we can attach the clamp.
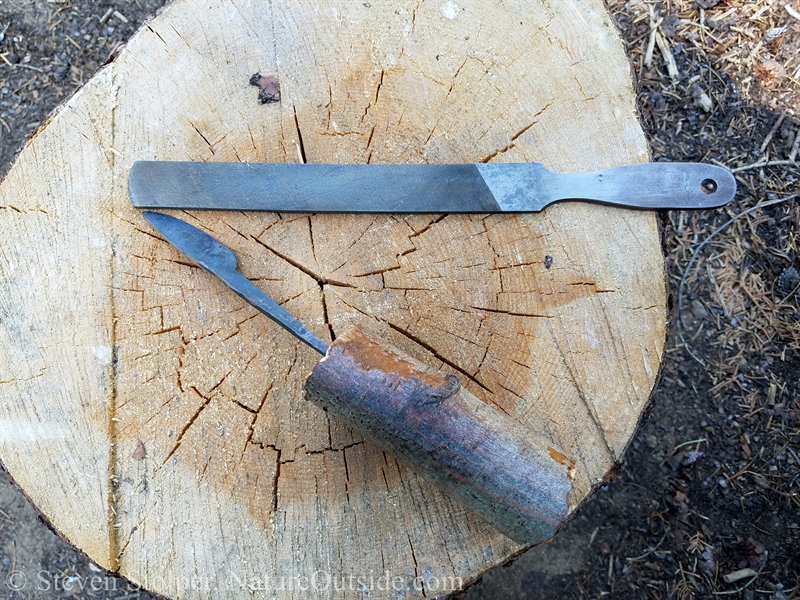
The knife is ready to be filed. Note the piece of Alder I selected to become the handle.
I am going to file the convex (outer) edge of the spoon gouge. Having a single bevel on the outside of the gouge allows me to keep it sharp over its lifetime. Note the piece of Alder I selected to become the handle.
Sharpening the Blades
After we profile the blade with the file. Our next task is to temper the steel. We heat the metal to high temperature and then quickly cool it by quenching it in water. Tempering makes the steel harder – it can withstand greater forces without breaking or deforming.
But if we made any mistakes during the forging, the knife can snap or shatter when it is quenched. I hold my breath through the entire process.
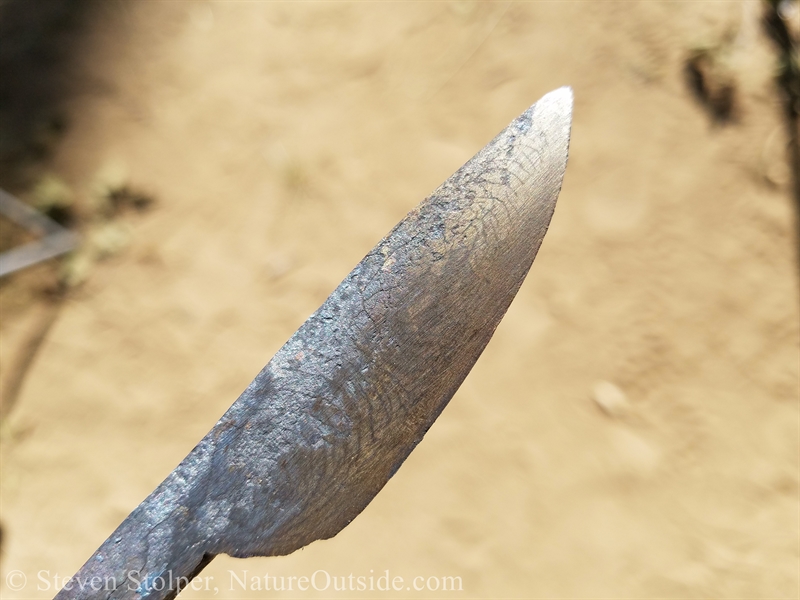
The tempered steel has a distinct color that lets us know we were successful.
After we temper our blades, we sharpen them on various whetstones. This is by far the longest and most tedious part of the knife making process.
Although my blade is small, I opt to give it a Scandinavian grind to make it easier to sharpen in the future. It’s also a good grind for carving wood.
The Handles
For the handles, I harvest white alder (Alnus rhombifolia), also called the California alder. Alders are members of the birch family (Betulaceae) and grow natively in riparian habitat.
The Alder taught me a bushcraft lesson. I had been passing stands of Alder for years without paying them any attention. Now that I realize I can carve them to make handles, I see them in a different light and will never overlook them again.
I also learned the value of a good tool. The saws provided to the students were flimsy and did not cut well. Fortunately, I carry a Bahco Laplander in the trunk of my car. I use it to harvest natural materials and remove obstacles when I’m driving on unmaintained roads. The saw is lightweight and portable but very robust. Best of all, it cuts on both strokes. It made easy work of the Alder and I ended up lending it to several other students.
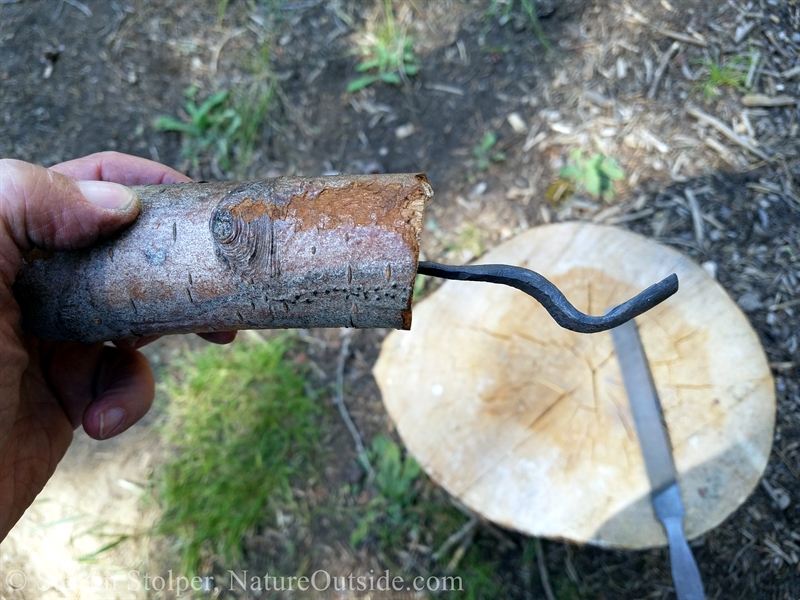
While the metal pieces are still hot from the forge, I force them into pilot holes I drilled into the harvested wood. This burns a “custom fit” for the tang in each handle.
After removing the blades, I carve the wood to make handles that feel good in my hand.
I attach the completed handles to the tangs using epoxy, colored black with charcoal from our campfire. For my gouge, I use charcoal from Redwood trees near my home that burned in the CZU wildfire.
I protect the wooden handles by rubbing them with Danish Oil. This is different from the polyurethane finish I use for my firesteels. It is good to try a new techniques and compare them with others I’ve used.
They’re Mine – They’re Special!
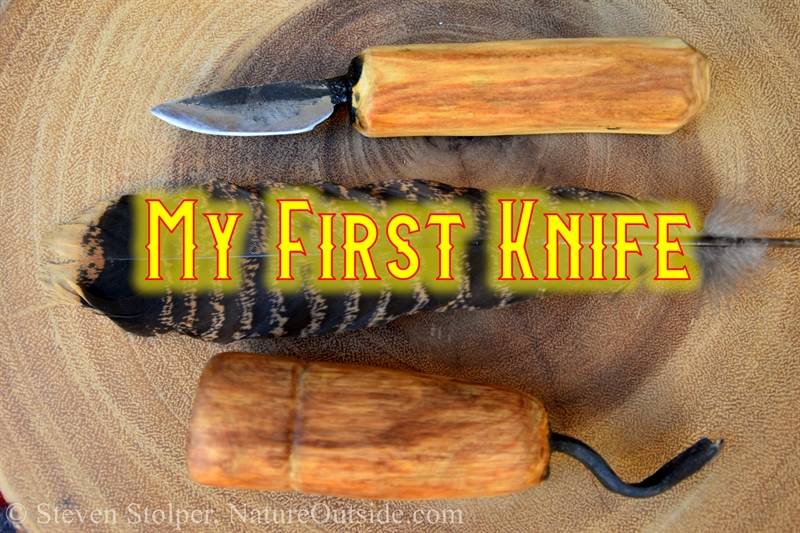
Here are the finished knife and gouge.
Here are the finished carving knife and gouge.
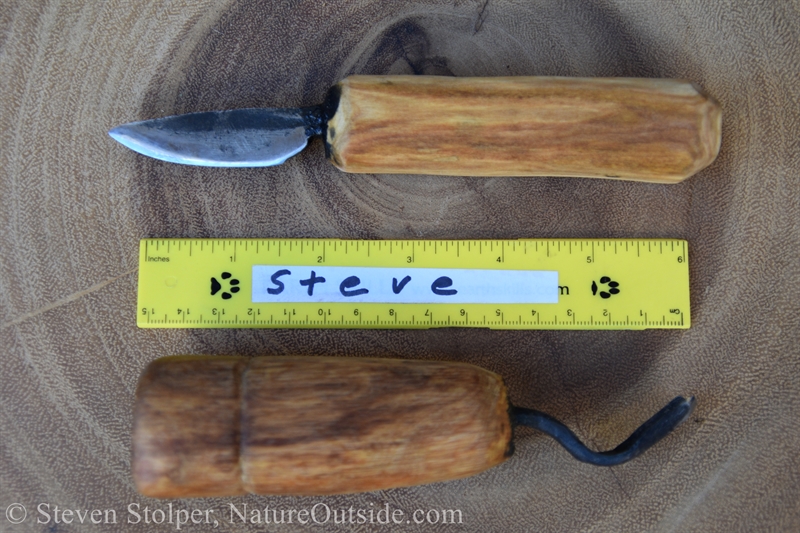
These are small tools for spoon carving.
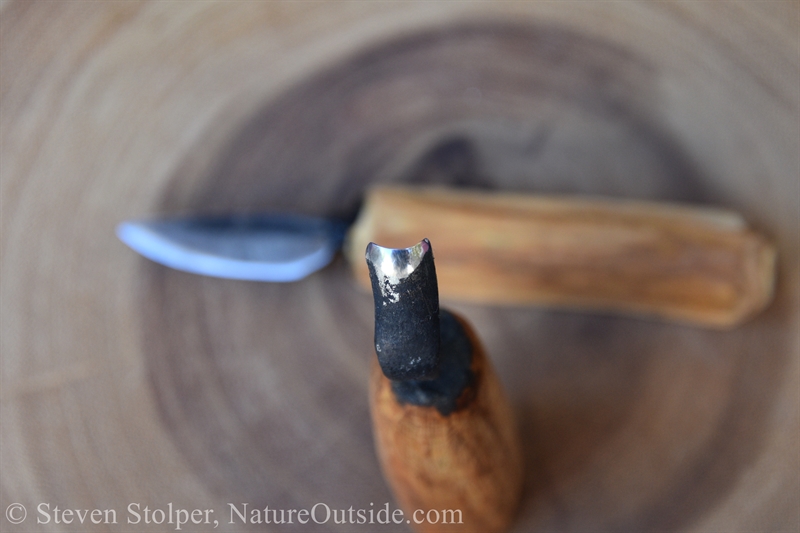
You can see the edge on the outer surface of the spoon gouge.
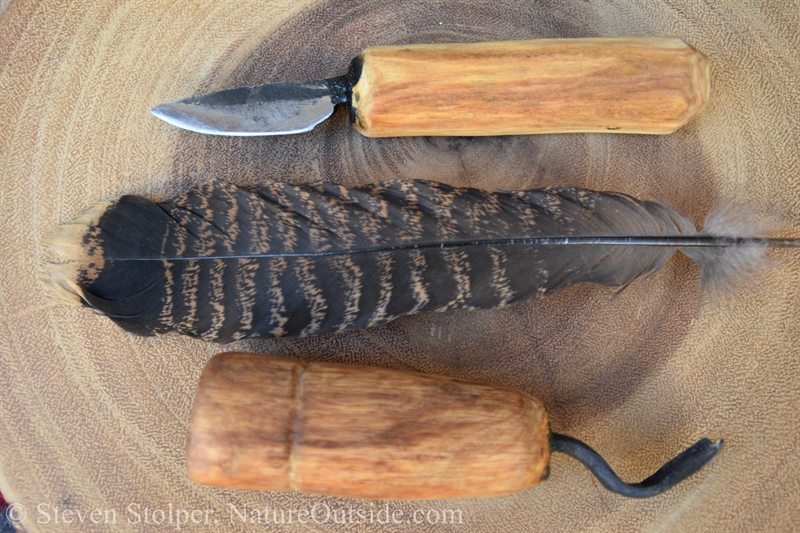
Here they are alongside professionally made tools from my workshop.
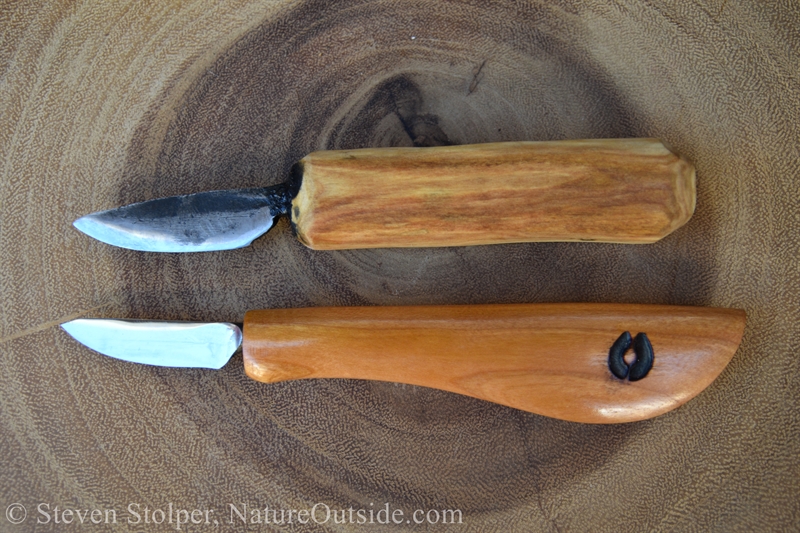
“Little Chip” above and a professionally made knife below.
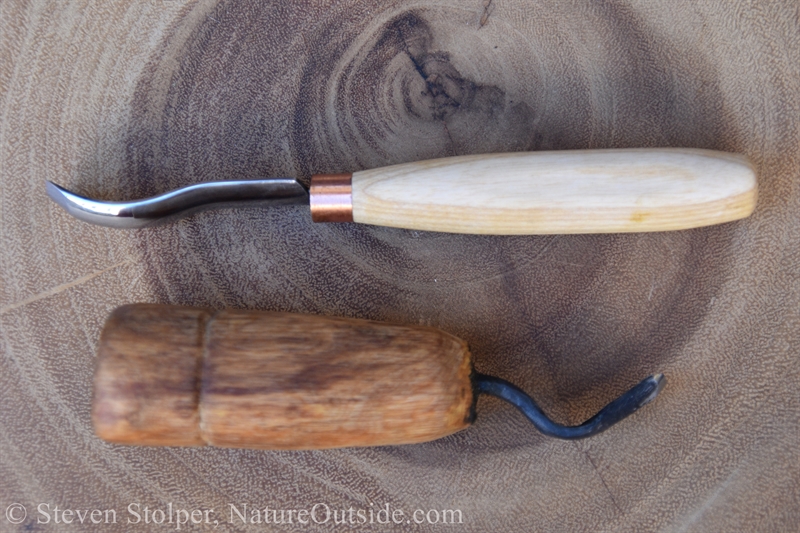
A professionally made spoon gouge above and “Gougezilla” below.
I want to point out that although they are not as “polished” as the professional tools – they work just fine. And they are special because I made them.
They will give me enormous pleasure for many years to come.
Related Articles on NatureOutside
10 Equipment Gifts for Bushcrafters, Nature Lovers, and People Who Love the Outdoors
You’re no Ray Mears, and Here’s Why!
How to Make a Custom Firesteel without Fancy Tools
For fun facts and useful tips, join the free NatureOutside Newsletter.


Leave a Comment