There’s nothing like handmade gear in the wilderness. Imagine being on the trail and reaching for a piece of equipment you yourself have crafted. The texture, the smell, and even the imperfections spring from who you are as an outdoorsman, and as a person.
In an earlier post, I show you how to make a deerskin pouch, I point out that distinctive gear is a chance to express your unique personality on the trail. And the most inexpensive and rewarding way to get custom-made gear is to make it yourself.
Why make your own gear?
There are two practical reasons for making your own gear: It does not exist, or it is too expensive to purchase. But there are “spiritual” reasons as well. Making your own gear is fun! And it is extremely satisfying. Each time you reach for the item, it will remind you of the pleasure you had crafting it.
Don’t Make Excuses
Why don’t more of us make our own gear? Here are the two biggest reasons that stopped me.
Poor Craftsmanship
For years, I hesitated, procrastinated, and prevaricated. I delayed, I denied, and I excused. I avoided making my own gear because I was embarrassed by my lack of skill. I worried that it would expose my ineptness and that others would point and laugh.
Don’t let poor craftsmanship stop you! When we do something for the first time, it is natural to make mistakes. But in doing so we learn and improve. Mistakes make your item “unique” and “handmade.” When you accept this, it liberates you to create marvelous things you didn’t think possible.
As it turns out, people react warmly when I pull out gear I’ve made myself. They overlook the flaws and compliment me on the effort I put into making it. Self-made gear is a great conversation starter!
Economics
It is discouraging to spend hours carving a wooden spoon and then see a perfect one for sale at the local market for $5. Quite frankly, manufactured goods are going to be cheaper than handmade ones in many cases. You don’t have the benefit of an economy of scale. But that’s just the point! You are unique. So why carry bland, mass-produced outdoor equipment?
You get paid through the act of creation. Don’t let the economics stop you.
When a work lifts your spirits and inspires bold and noble thoughts in you, do not look for any other standard to judge by: the work is good, the product of a master craftsman.
– Jean de la Bruyere
What is a Strop?
When we sharpen a knife, we remove metal around the edge of the blade. The new edge has the sharpness we desire. We remove the material using rough surfaces such as stone, ceramic, and synthetics. During the sharpening process, we change “grit” gradually from a rough surface that removes more material to smoother ones that refine and polish the edge.
Once the knife is sharp, we can keep it that way by repeating the final stages of the sharpening process. There is no need to resort to the rough surfaces as long as we maintain the sharpness of the knife as we use it.
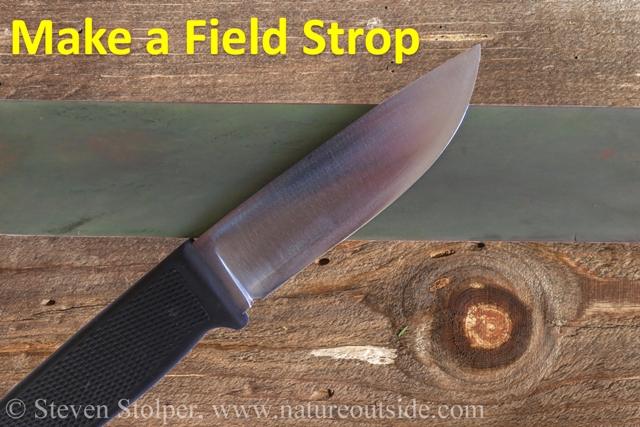
A strop is one of the smooth surfaces used at the end of the sharpening process. It is usually made from a strip of leather. Strops may be further enhanced by impregnating the leather with a polishing compound. You use the strop by dragging the edge of your knife along the length of the leather. You may have seen the town barber using a strop for his razor in old western movies.
I use my strop often to maintain my knife’s keen edge. So I rarely need to resort to the rougher surfaces to keep it sharp.
Sharpening your Knife in the Field
If you use your knife often on multi-day trips, having a strop on-hand is helpful. It allows you to keep your knife sharp, which makes it easier and safer to use.
But like anything you use in the field, you want your strop to be small, lightweight, and virtually bombproof. It needs to survive in your pack for it to be useful as a tool. But it must be small and light enough for you to want to carry it in the first place.
Make Your Own Field Strop
Here’s a nice video, from knivesShipFree, that shows how to make a strop to use in the field. It is easy and inexpensive to construct. So it is a terrific project for beginners and experts alike. Give it a try!
One last tip before the video: If you want to know if you are stropping the correct part of the edge, draw on it with a black sharpie marker. After you strop, the black ink should be gone. If you miss part of the edge, you will be able to see it by looking for the black ink.
What do you think of the video? Leave a comment below to let me know.
Related Articles on NatureOutside
How to Make a Deerskin Pouch – 5 Easy Steps!
Simple Leather Project – Coyote and Night
Turn Acorns into Spinning Tops in just 10 Minutes (Children’s Toys)
For fun facts and useful tips, join the free Bushcraft Newsletter.


Leave a Comment