![]()
This post contains affiliate links.
Is your idea of a romantic date crawling through tall grass along animal runs?
Or perhaps you don’t know the difference between Chardonnay and Pinot Noir, but you recognize the smell of fox urine?
If you answered “Yes” to any of these questions, then skip the rest of this article. But if you are like most people (and me) then you should learn more about animal tracking.
Why you Need to Learn Animal Tracking
You can’t connect with nature if you never see it. And just because you choose to exercise outdoors doesn’t mean you see nature.
What I’m trying to say is that “nature awareness” is a skill. And like any skill it’s something you learn. Nature awareness helps you perceive the unseen animals living nearby. You detect the movements of predators by the scolding birds overhead. And you unravel subtle signs in the forest that clue you in to the habits of your fellow forest creatures.
This is not voodoo magic! It’s not New Age mumbo jumbo! You can use your senses and powerful brain the way our species has done for thousands of years. Modern society diminished these nature connection skills. But there’s good news! You can go outside anytime and start using your nascent abilities.
Animal tracking is a great way to revive the nature connection. It’s surprisingly easy to learn. Your brain is already wired to do it. Suddenly you can “read the newspaper of the forest.” You can visualize the movements of animals that passed by hours before. And through the insight tracking provides, you can learn the hidden secrets of your small corner of the woods.
But First a Walk
I want to tell you about the Tracker’s Pack, a small kit that will help you learn animal tracking. But it’s rained all week and I’m going stir crazy! Let’s take a walk and then we’ll talk about the Tracker’s Pack.
It’s still drizzling as we roll into Sunol Regional Wilderness. The overcast sky mutes the colors of the rolling hills before us. It’s a mild 63 degrees, but the wind and humidity add a chill to the air.
In the first part of our hike, we climb the hills that tower above our heads. We’re going to the remains of the JB Ranch.
Ranching on this land started in 1865. And the JB Ranch was the last working ranch before the East Bay Regional Park District purchased the land. I know we’ll find shelter among the old buildings that still stand on the site. I expect to find a shelter with picnic tables where we can talk about the Tracker’s Pack.
Cattle still graze on these hills. We sidestep several overanxious mother cows aroused by our approach. The calves, each weighing more than me, scatter and reform bravely in front of their mothers.
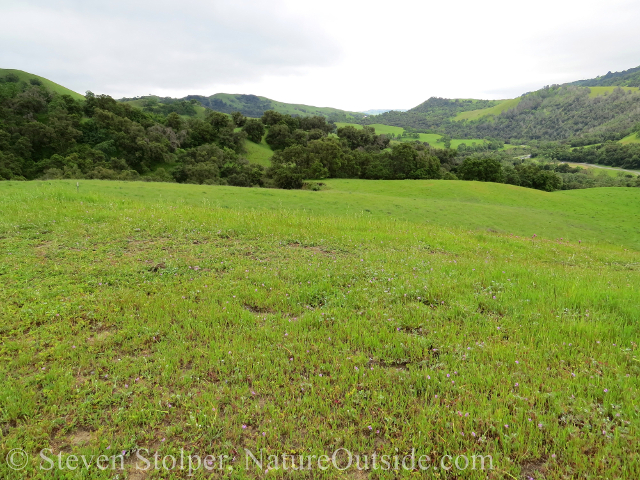
The rolling hills of Sunol Regional Wilderness
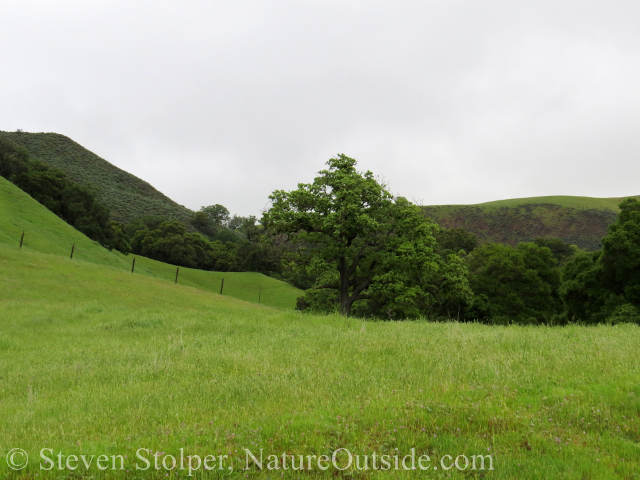
Passing by grand oaks as we climb toward the skyline
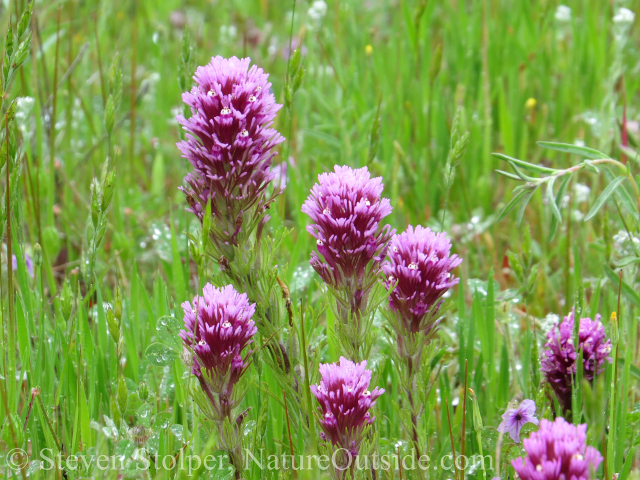
The Owl’s Clover (Castilleja exserta) is in full bloom.
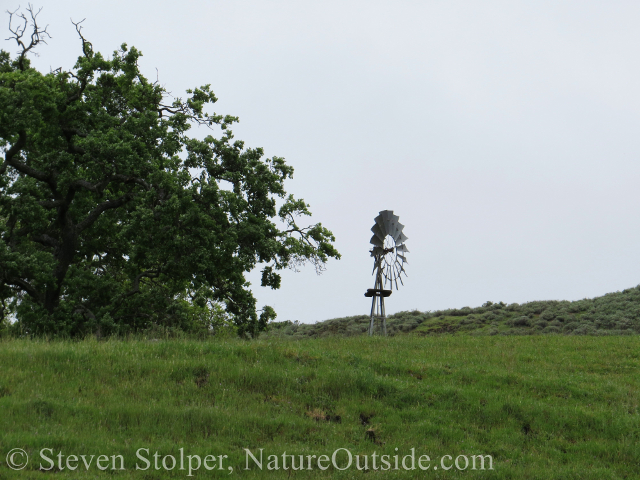
We climb toward the remnants of the JB Ranch, hidden in a valley above us.
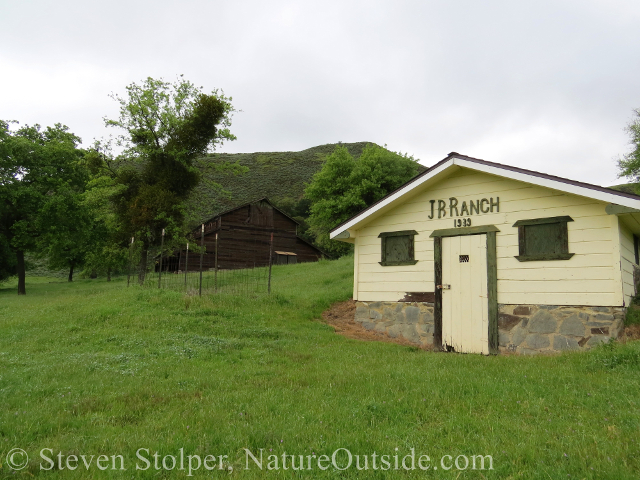
The storehouse (1939) was built into the side of the hill to insulate it.
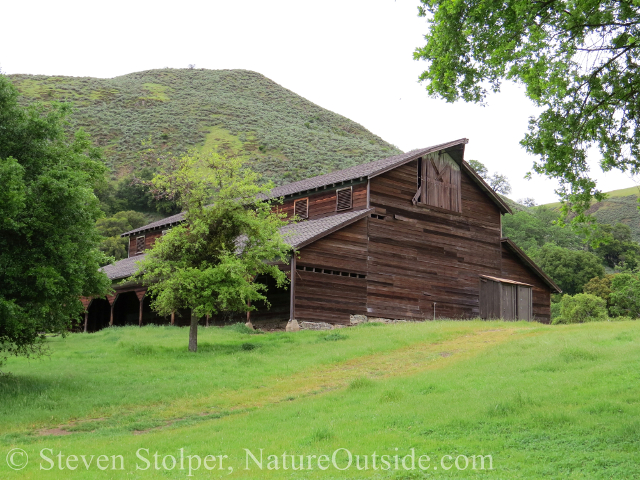
The barn still stands.
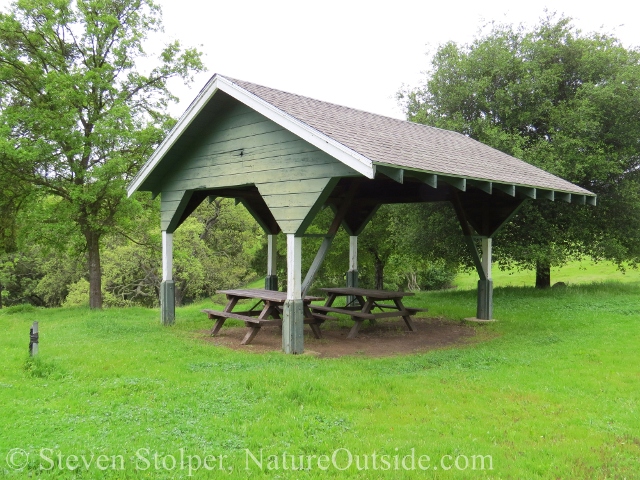
Shelter from the rain
As we sit, I spot a pair of Western Bluebirds foraging in the grassland. A Kestrel speeds overhead bound on an errand unknown.
The Tracker’s Pack
Now that we’re out of the rain, let’s talk about the Tracker’s Pack.
Trackers carry a small kit with them to help track animals. A tracker’s senses are his or her most important tools. But the equipment in the tracker’s pack provides quantitative information that’s more precise than human senses can provide.
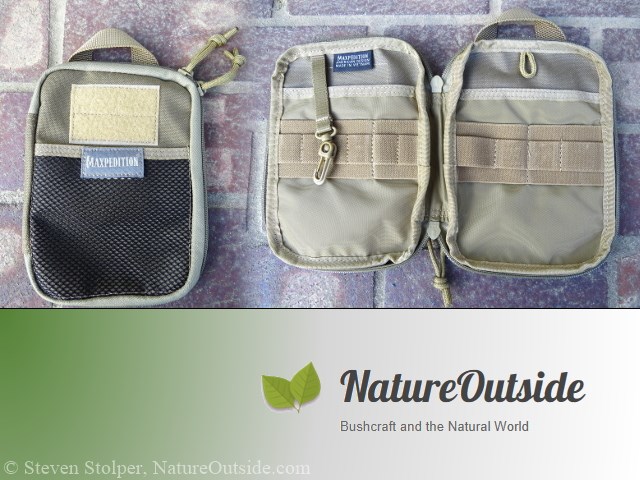
I carry my pack in a small BDU Pouch. This compact pouch is slightly smaller than 5” x 7” x 0.75”. It can be worn on the belt, or slipped into one of the large cargo pockets of BDU pants or hiking pants.
I pull the pouch out of my cargo pocket whenever I need it.
The clamshell pouch makes it easy to access the contents.
The clamshell design allows me to hold the pouch in one hand and pull items from it with the other.
Each tracker carries different items in his or her Tracker’s Pack. Here are mine spread out on the picnic table.
The contents of my Tracker’s Pack.
Let’s go through each item. Listed next to each is a link that will take you to an example on the Amazon website.
Then we’ll discuss how they’re used in animal tracking.
![]()
1. Carrying pouch (link)
This pouch can be any size or type. I keep mine small to carry in a pocket or on my belt. It’s important to keep your Tracker’s Pack close at hand. You won’t use your tools if they’re buried in your backpack.
2. Telescoping inspection mirror (link)
This is a luxury item. I use it to look at the underside of fungus perched on steep slopes below the trail. Risking your neck to look at the gills of a fungus gets old quickly. But I use the tool so rarely that I will likely remove it from my pack.
3. Field notes (link)
In the past I’ve discussed the importance of journaling. This small notebook is where I record my observations, questions, and what I’ve learned.
4. Mechanical pencil
I write with a pencil because the graphite is waterproof. I can also erase mistakes quickly.
5. Pointed dowels with surveyor’s tape
It’s useful to mark tracks you find on the ground. Once you mark them it’s easier to visualize the animal’s gate, stride length, and to pick out individual trails among many individuals. Most trackers use colored tongue depressors for this purpose. They store easily and are inexpensive. I use dowels that slip into the pencil-holder loops of my pouch. The sharpened dowels go into hard ground that tongue depressors won’t penetrate. But the dowels don’t store as efficiently. If you are starting out, I recommend using tongue depressors because they are lighter and more compact to carry.
6. Small ruler (link) — A small ruler helps me measure track width and length. I can also lay it alongside the track when I photograph it. This gives me scale when I look at the picture later. Many trackers also carry a penny to place into photographs. The penny is so familiar that it quickly communicates the size of the track.
7. Small tape measure (link) — I use the tape measure to determine the stride of the animal. The track dimensions and stride length helps narrow the choice of animals that laid down the tracks. I use the tape measure to look at the path width. This helps me answer the question: How wide was the animal that made these tracks?
8. Hand lens (link) — The hand lens helps me see fine details. Examples include hair impressions left in a track, skin impressions in mud, or a blade of grass damaged by an animal’s passage. The hand lens is also useful for examining insects, plants, and fungus I find along the trail. I use a model with an LED light on the bottom to illuminate what I’m looking at and dispel shadows.
Using Your Tracker’s Pack
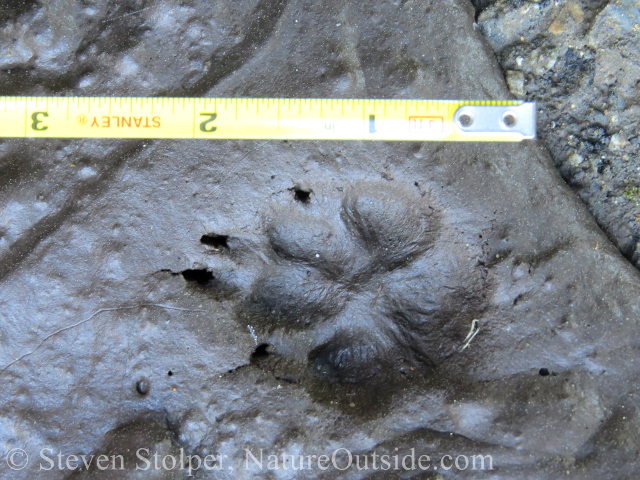
When I find a track left by a mystery animal, I use my ruler to measure its length and width. This helps narrow the choices of which animal left the track.
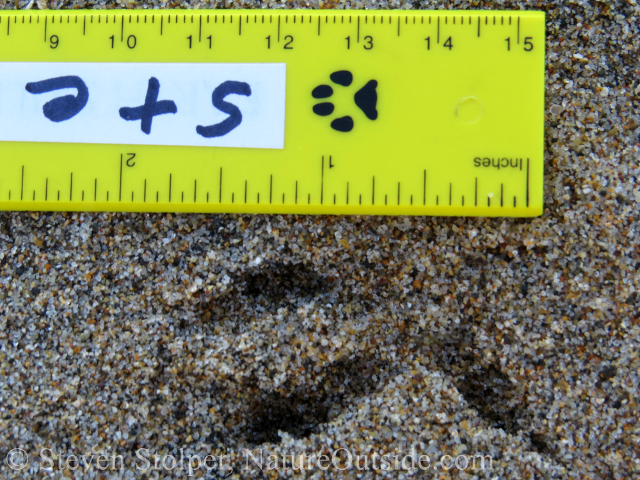
This zygodactyl bird track (“K” shaped) was left by a bird of prey. The size limits the possible suspects. It’s most likely the track of a burrowing owl.
I use my tape measure to record the stride of the animal. This helps determine the animal and identify its gait (mode of movement). I also measure the width of the trail to get a picture of the animal’s size.
Measuring the stride of a coyote from “heel to heel.”
With this quantitative information, I can look in field guides (I will discuss carrying them in a future article) to help identify the animal.
A group of trackers comparing animal tracks to a field guide
Field guides have limitations. Animals have individual differences like you and me. And these are not reflected in field guides. The tracker’s joke is that “the animals don’t read the same textbooks we do.”
Here are two tracking field guides I like and recommend:
Mammal Tracks & Sign: A Guide to North American Species
Tracker’s Field Guide: A Comprehensive Manual For Animal Tracking (Falcon Guides: Field Guides)
Try it Out
Find a local tracking group and go tracking with them. Or just go for a walk! Assemble a Tracker’s Pack and field guides and begin to explore the secret lives of animals in your area.
Win a Maxpedition E.D.C. Pocket Organizer Pouch
Enter for a chance to win a Maxpedition E.D.C. Pocket Organizer like the one described in this article. This pouch is slightly larger than the one I carry. But it is extremely well made and I think you will enjoy it.
The giveaway is over. But click on the picture below to join the Bushcraft Newsletter. You will automatically be entered to win for future giveaways.
Related Articles on NatureOutside
Mysteries on the Beach (Part 1)
5 Reasons Why You Should Keep a Journal (and my secret for how to do it!)
Wolves Teach a Master Class (Part 1)



Nice job Steven! I also wanted to point out that Pino is actually Pinot and a.K shaped track is zygodactyl. I’m not being critical just thought you would want to know.
Best, Wyatt
Ack! Thank you so much for catching these errors, Wyatt! I’ve just fixed them. 🙂
Ever try a trackers bw? Light, short bow with grommets on the limbs to mark stride width and length, markings for inches, feet.use arrows for marking track points. a couple of good articles showed up in Primitive Archer Magazine.
Shane, I’ve never tried that. I’ll take a look at those articles.
I’ve gone tracking with a few people who mark graduations on their walking stick. Whenever they want to measure stride, trail width, or even track dimensions, they lay their walking stick on the ground and use it like a yard stick. It’s a great trick that really works – especially if you already carry a walking stick.